We do all our experiments in the open, and we try to make them as easy to reproduce as possible. We not only share our experimental protocols (like recipes for running your experiments) but also the results.
Here are some experiments we’ve done:
This is the multi-page printable view of this section. Click here to print.
We do all our experiments in the open, and we try to make them as easy to reproduce as possible. We not only share our experimental protocols (like recipes for running your experiments) but also the results.
Here are some experiments we’ve done:
Describes how to get started with CO2 sparging on the Pioreactor.
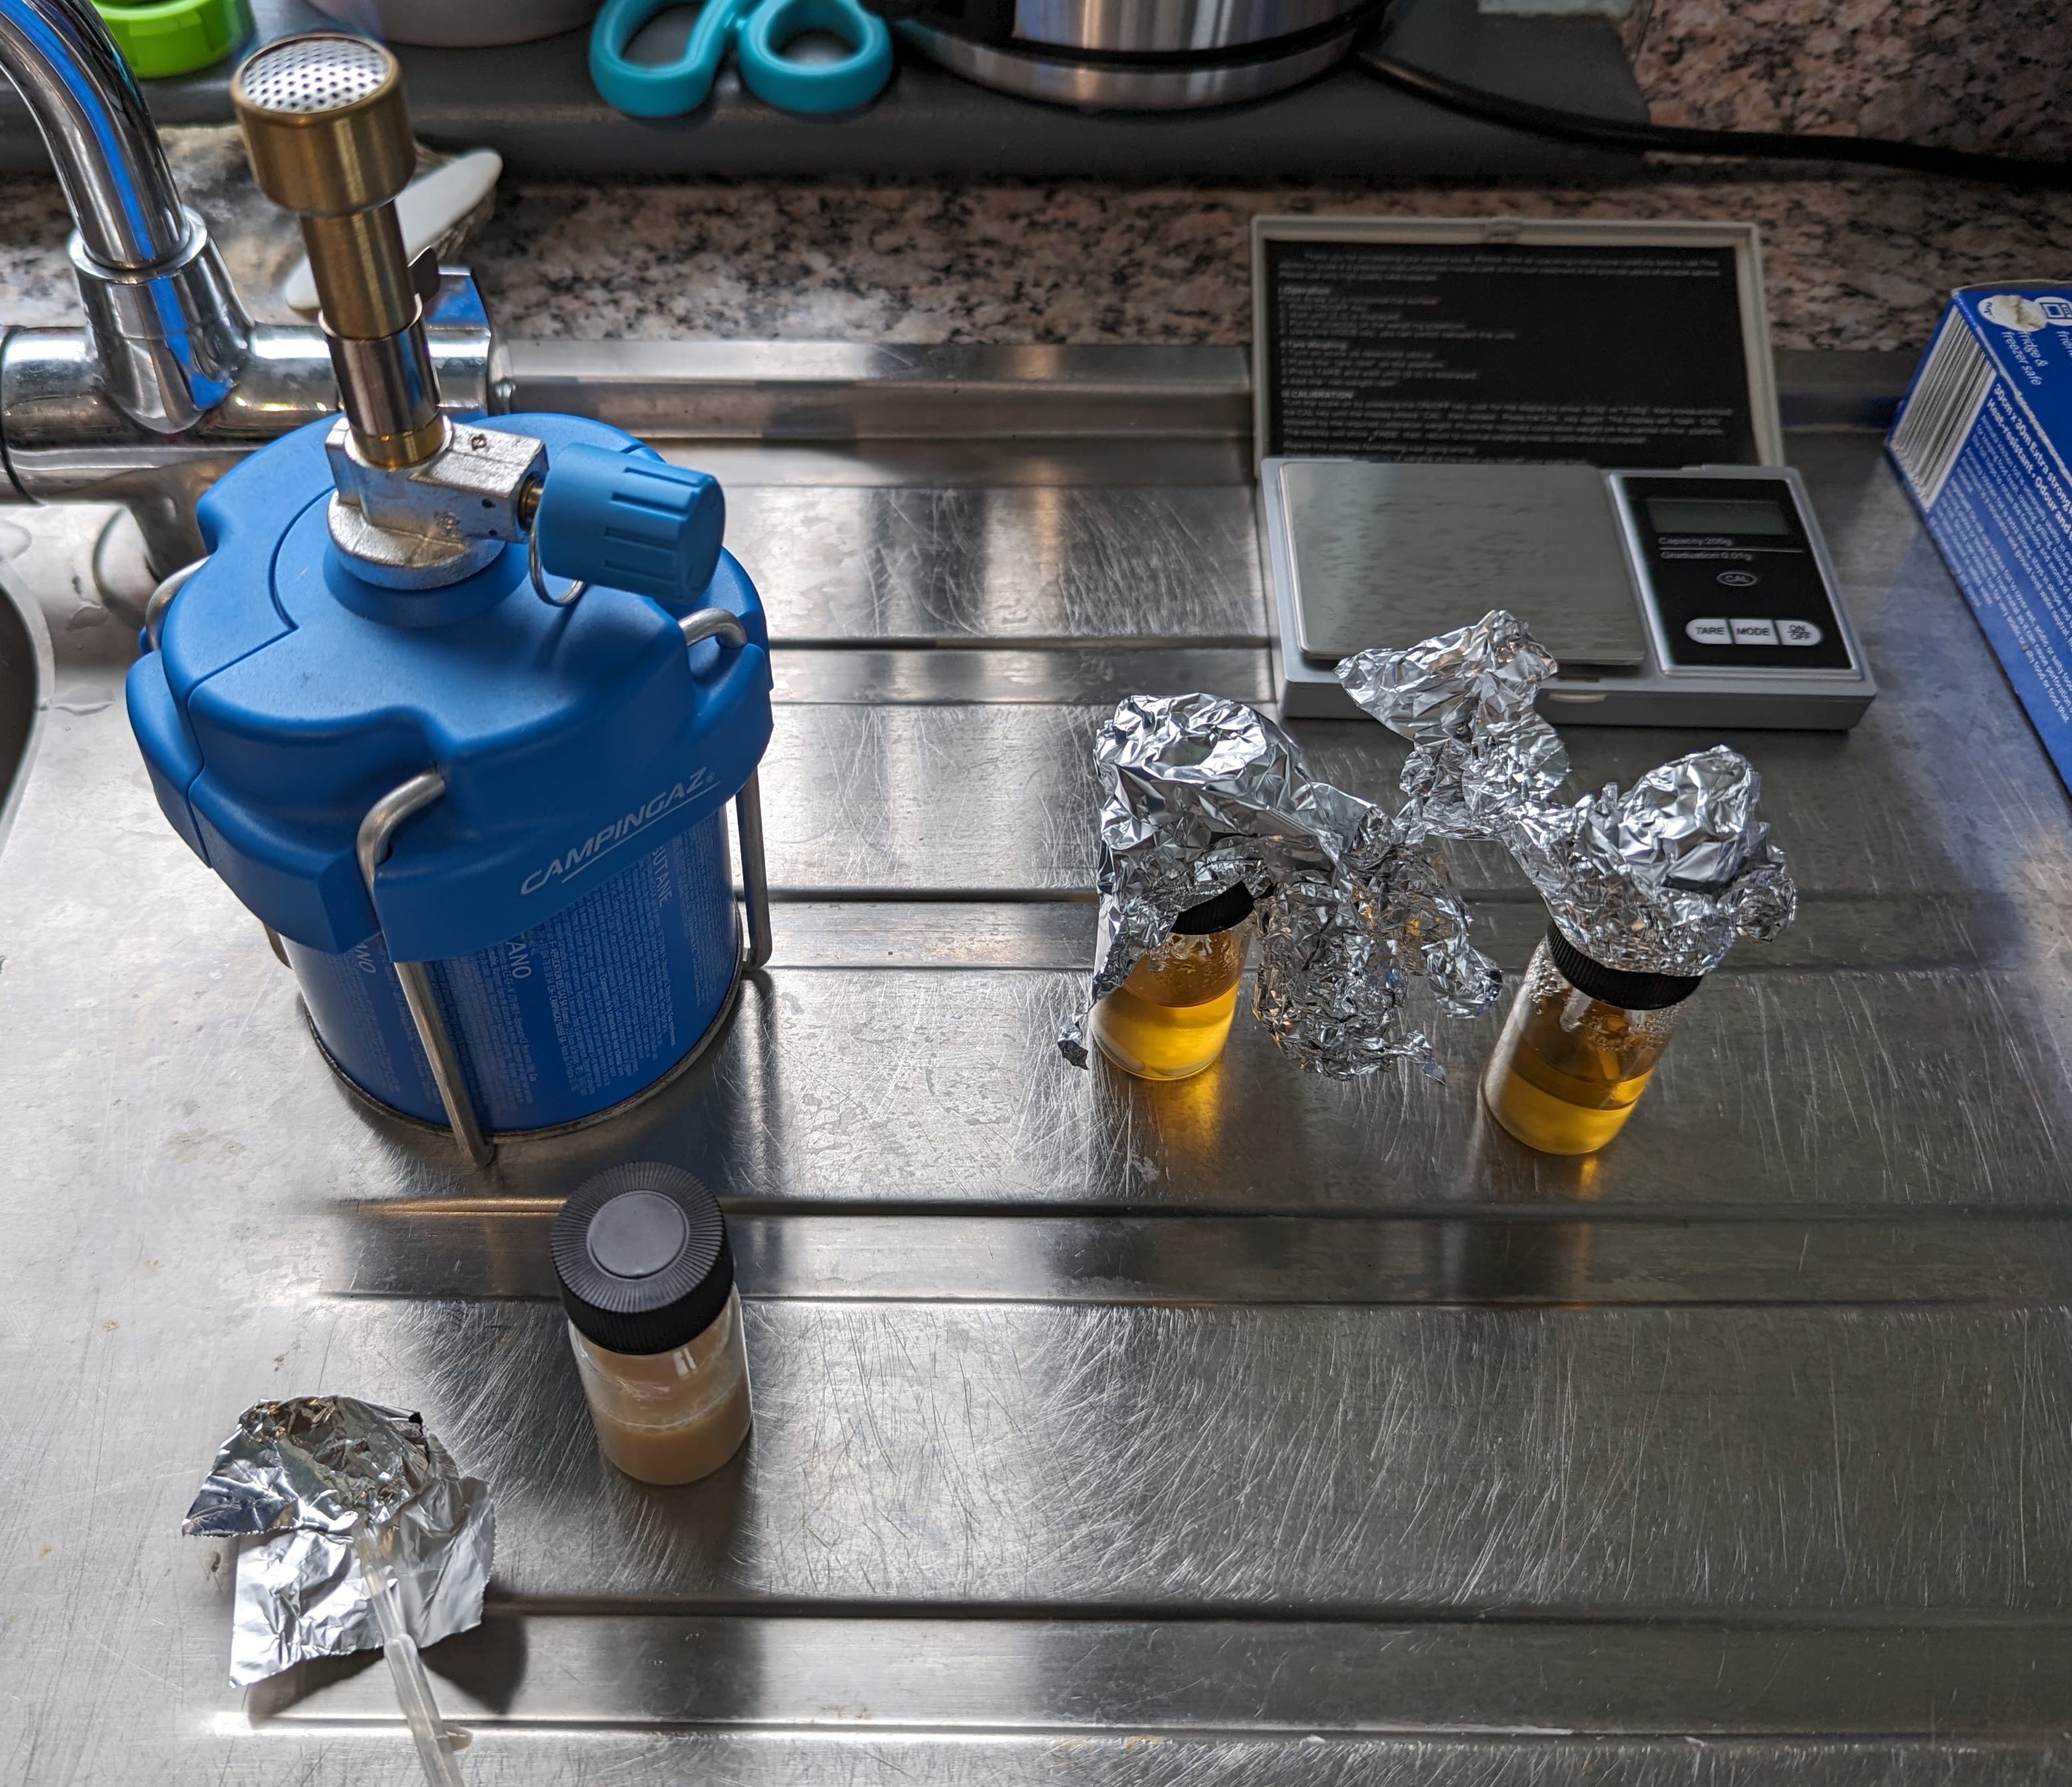
Connect the CO2 regulator to the Sodastream cylinder using the adapter and a wrench.

Connect one end of ~20cm PU tubing to the regulator and the other end to a check valve.

Connect another short piece of PU tubing to the other end of the check valve and attach a 3/16" barb female Luer lock connector. Attach two 1/16" barb male Luer lock connectors to each end of ~10cm of 1/16" silicone tubing and connect to the 3/16" connector and the Pioreactor port.

Connect the barrel power cord to PWM channel 4 on the one end. You can either solder Dupont female square head wires to the power cord, or crimp a TE Connectivity AMP connector as in the image.

Plug the other end of the power cord into the solenoid of the regulator.

Make sure that your Pioreactor supports 12V on the PWM channels and that a 12V power supply is connected to the barrel jack of the Pioreactor HAT.
pioreactor-relay-plugin plugin.relay:[PWM]
# map the PWM channels to externals.
# hardware PWM are available on channels 2 & 4.
1=stirring
2=media
3=waste
4=relay
5=heating
Test that it works by manually turning on the relay in the Activities tab of the Manage screen of the Pioreactor UI. You should hear the solenoid turn on and CO2 rushing into the Pioreactor vial. You can adjust the amount of CO2 sparged using the dial on the regulator.

Create a new experiment profile and copy and paste the following into the profile:
experiment_profile_name: CO2 sparging every hour

metadata:
  author: Gerrit Niezen
  description: Turns on the relay for 10 seconds every hour

common:
  jobs:
    relay:
      actions:
        - type: repeat
          hours_elapsed: 1.0
          repeat_every_hours: 1.0
          actions:
            - type: log
              hours_elapsed: 0.0  # relative to the repeat loop, 1h
              options:
                message: "Sparging CO2 for 10 seconds"
                level: info
            - type: start
              hours_elapsed: 0.0
              options:
                start_on: True
            - type: stop
              hours_elapsed: 0.00278
When the experiment profile is running it should sparge CO2 for 10 seconds every hour.
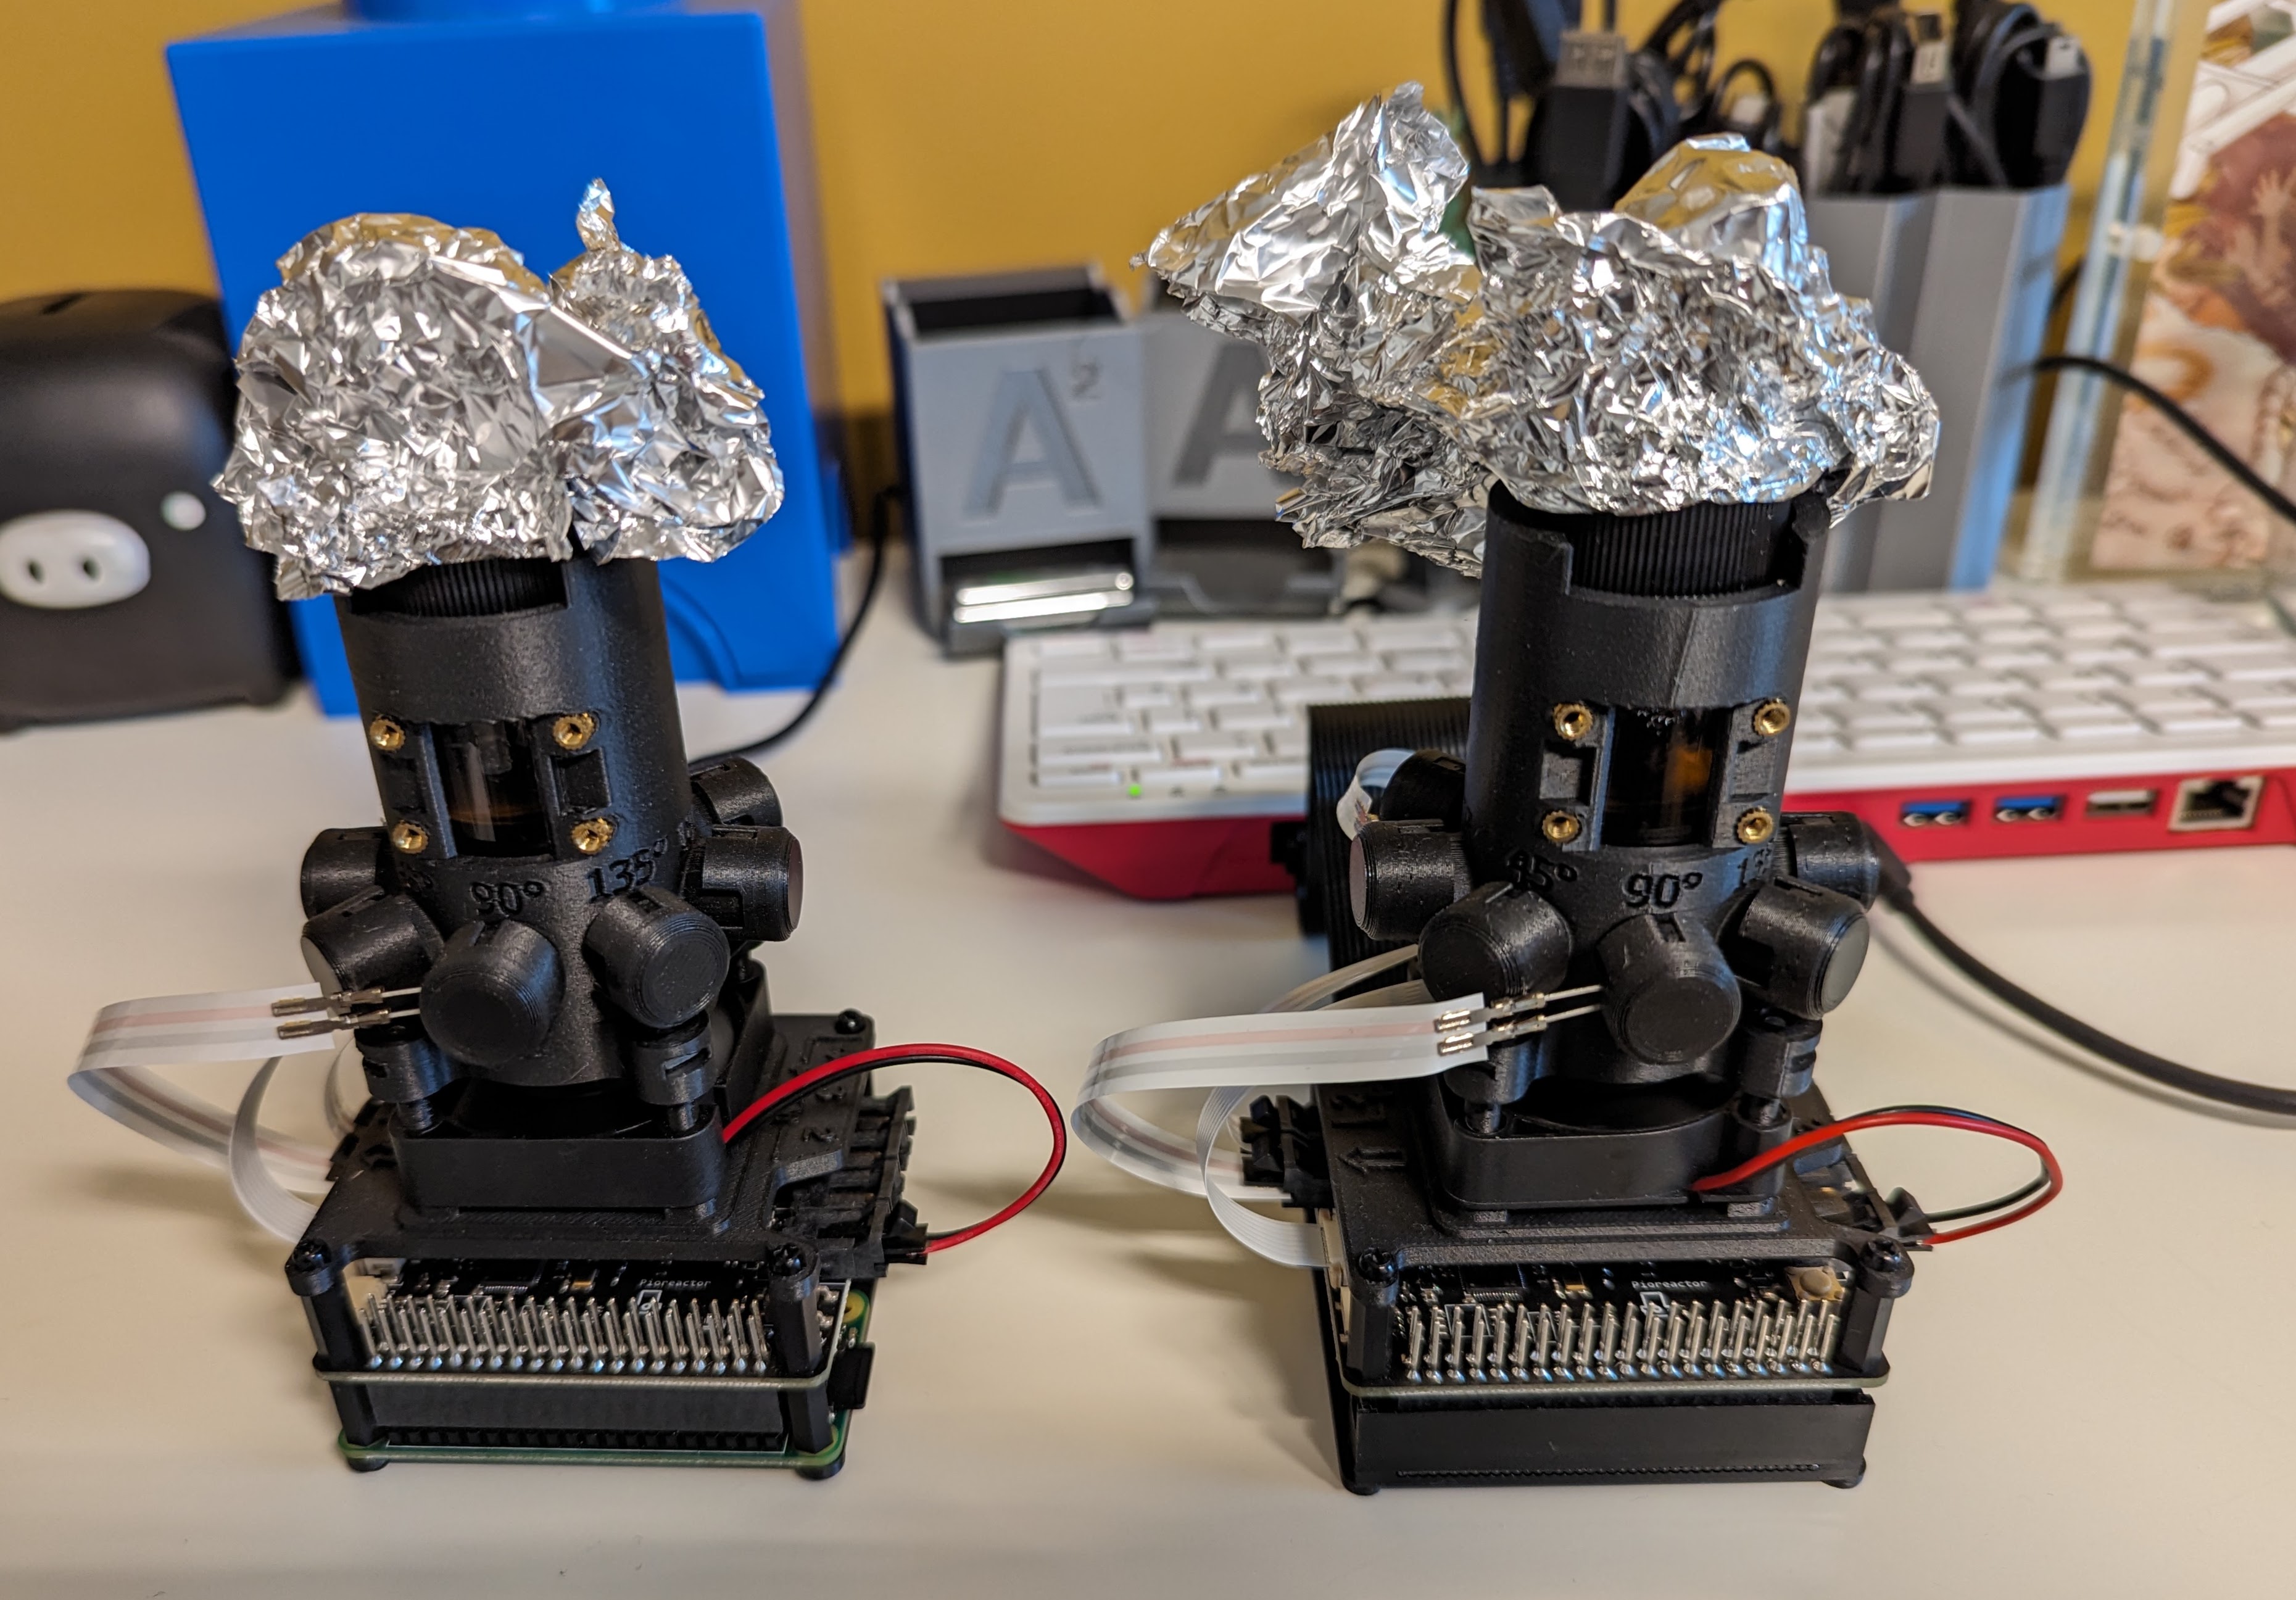
To ensure that the Pioreactors we’re using are working as expected, we ran an experiment where we used the exact same experimental conditions with two Pioreactors, with the hope to produce the same results.
The original experiment is described on the Pioreactor website.
The raw results from the experiment are available as CSV files on GitHub.

AMYBO’s Harvey Mudd Clinic Anode Team have been testing a number of different materials and anode designs with the aim to produce a more cost effective design.
We’ll be posting their results here soon. If it’s after 7 May and this page still looks like this please contact Martin.
We’re still optimising the kit list for Hydrogen Oxidising Bacteria (HOB) enrichment, please see this discussion on the Bill of Materials for the latest.
We’re reasonably happy with our mesonutrients (other than the vitamin pill & perhaps the Calcium Chloride) but more work is required for us to be able to recommend an optimal food grade micronutrient solution. In the meantime there are many options if you’re happy to go non-food grade - see Trace element solution for our latest thoughts.